How to Apply a Lace Wig in 4 Easy Steps
How to Apply a Lace Wig in 4 Easy Step
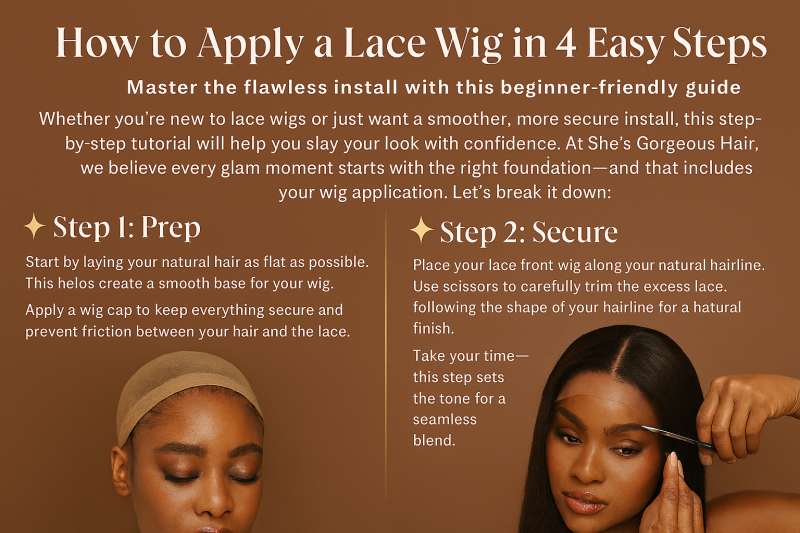
Master the flawless install with this beginner-friendly guide
Whether you're new to lace wigs or just want a smoother, more secure install, this step-by-step tutorial will help you slay your look with confidence. At She's Gorgeous Hair, we believe every glam moment starts with the right foundation—and that includes your wig application. Let’s break it down:
✨ Step 1: Prep
Start by laying your natural hair as flat as possible. This helps create a smooth base for your wig. Apply a wig cap to keep everything secure and prevent friction between your hair and the lace.
✨ Step 2: Secure
Place your lace front wig along your natural hairline. Use scissors to carefully trim the excess lace, following the shape of your hairline for a natural finish. Take your time—this step sets the tone for a seamless blend.
✨ Step 3: Tape or Glue
Choose your preferred method of adhesion:
- Tape: Apply double-sided wig tape to the front of your hairline and temples.
- Glue: Apply lace wig glue to the perimeter of your hairline and the inside edge of the wig. Wait until the glue becomes tacky before pressing the lace down.
✨ Step 4: Blend
Press the lace into place from one side to the other, smoothing it down gently. To finish, apply a bit of makeup to the lace—foundation or powder that matches your skin tone—to blend the hairline and create a flawless, scalp-like illusion.

Add comment
Comments